
|


|
|
|
|
|
|
Home  Arts and Crafts Embroidery Showcases
|
|
|
|
|
|
|
|
Published: 01/22/2009 6:41AM
|
|
|
|
This is a project of Spirited Herbarium Embroidery designs set (from www.abc-machine-embroidery-designs.com) on a table runner and glass coasters. This project is excellent for a barbecue and any other occasion where food is served. Everyone will compliment the creativity of this embroidery. The great thing about it is that you can mix and match colors for different occasions. Red and green for Christmas; black and orange for Halloween; and hot pink and white for your birthday.
|
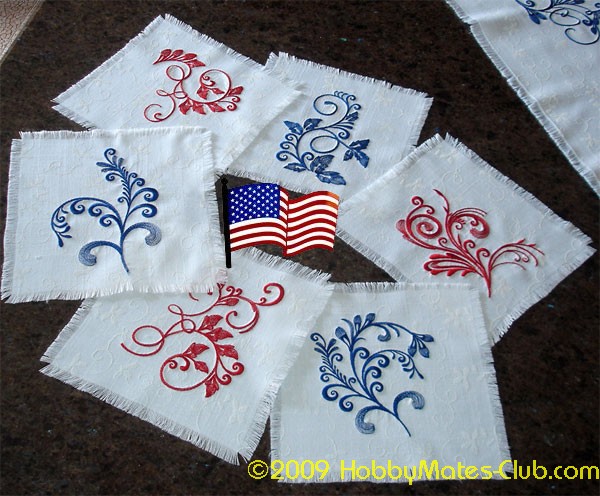
| 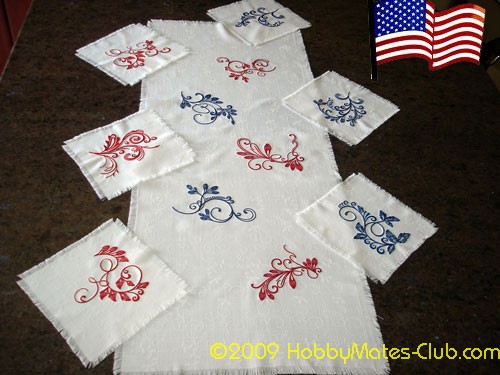 | | | Here is Blooming Flower 5 stitched on the table runner | | 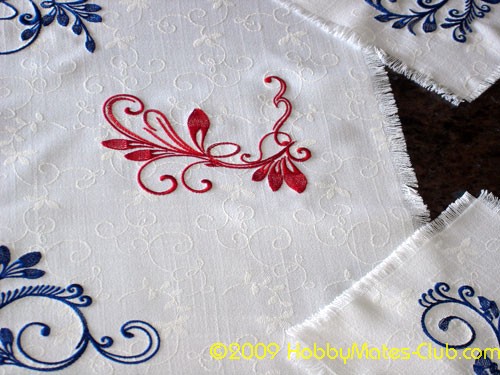 | | | Here is Blooming Flower 1 stitched on the table runner | | 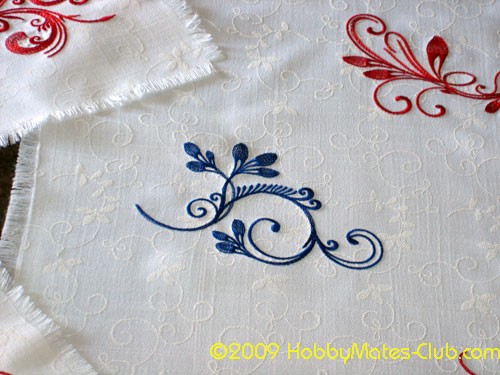 | | | Here is Blooming Flower 2 stitched on the table runner | | 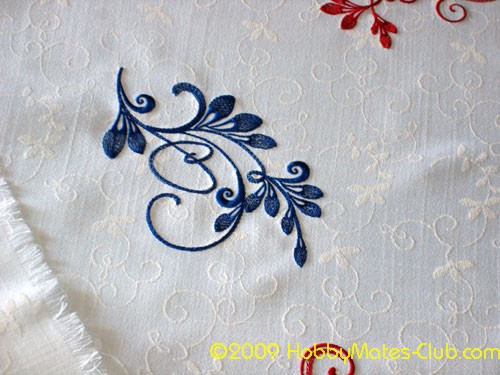 | | | Here is Blooming Flower 6 stitched on the table runner | | 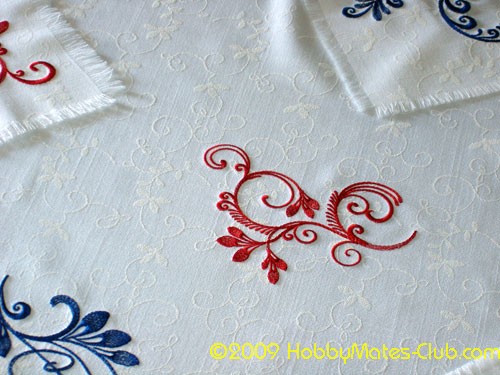 | | | Here is Blooming Flower 3 stitched on the table runner | | 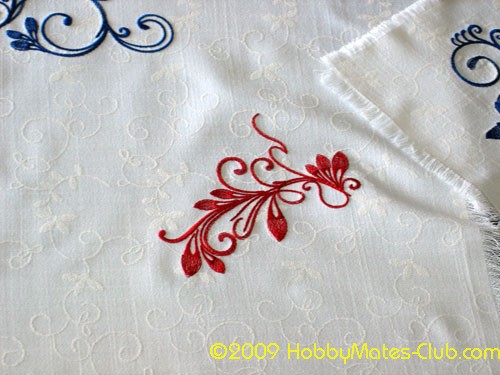 | | Here are all the 6 coasters. Starting from the top coaster on the left going clockwise, the designs are: Flourishing Stem 4, Vibrant Ivy 3, Vibrant Ivy 2, Flourishing Stem 6, Blooming Flower 4, Vibrant Ivy 1
To avoid the flat look of finished embroidery and to have the three dimensional aspect,
without puckering and damage to the threads, you must iron embroidered garments
this way:
- Place a fluffy terry cloth dowel on an ironing board.
- Place the embroidery up-side down on the towel.
- Press the iron on to the garment from the opposite side of the embroidery.
| |  |
|
|
|
|
|
|

|
|
Votes:7
|
|
Views:8222
|
|
|
|
|
|
|
|
|
|
|
|
|
See All Comments: 5
|
|
|
Hobbymates' Comments:
| | Beautiful
| | I had a large piece of old embossed linen fabric. I did not like to have edges to be stitched down on this project . Wanted something different. So, after embroidering I took off threads one by one to have fringe at the edges. Linen is very good for this. To keep edges from unraveling further I made tini-tiny zigzag stitches by perimeter on the fabric part by hands. You can use machine, I just did not want zig-zag to be visible. Also, you can make fringe part bigger and tie it equally to make tassels.
Something like this:
http://www.fabric.com/home-decor-fabric-tassel-trim-fringe-expo-international-trim-tied-tassel-fringe-celedon-green.aspx
Inga
| | I like these very much, what kind of fabric did you use? Did you pull threads for the edges?
Peggy
|
|
|
|
See Also
|
|
|
|
|
|
|
|
|


